Friday, August 30, 2013

Bird Watching Cross Stitch


I just finished 2 little 5x7 cross stitch samplers today. They are a Bucilla pattern I found at a garage sale. One of them is of an Eastern Bluebird with a nest of two young birds. The other is of a Painted Bunting sitting on a flowered branch with a bee. They are stitched on white 14 count Aida fabric.

I'll be selling them unmounted for now, so they should be mounted in a 5x7 frame without a mat or 9x11 with a mat.
Eastern Bluebird
Painted Bunting

My Backs


~Sarah

Saturday, August 24, 2013

Wheeled Kitchen Cabinet

I wanted more space for a pantry, so I asked Tom to make me a wheeled cabinet that would slide in between the fridge and the cupboard that was in our kitchen. This is what he came up with.


Olivia found it as soon as it appeared.

The castors have been replaced as the little castors from the plastic bins DO NOT work!

ummmm....how do I pull it out?
I added a handle!

Tom used leftover paneling from the wall for the backing and some 1x10 boards. He used castors from some plastic bins, but they fell off shortly after loading the cabinet, so we have to replace them with something sturdier. I had a cabinet drawer handle lying around in the garage, so I added it. It is a lot easier to pull it out with a handle on it. We left the top open as I wanted to put cereal boxes on it and didn't want to worry about something being too tall. The front of the shelves have an edge to keep the items from falling off. ?I don't know if I want to stain it or paint it. Right now we left it natural. I'll decide later. Overall... I like my new cabinet!

~Sarah & Tom

Friday, August 23, 2013

Spring Flowers Sampler (not framed)

This is a "Designs for the Needle" pattern entitled, "Grandchildren". I chose not to use the grandchildren theme and changed it slightly to be spring flower bulbs. I looked up the bulb types and included their names in the design.

It is stitched on 14 Count Fiddler's Cloth. It should be framed 9" x 12" without the mat and 13" x 16" with a mat. The flowers included in this sampler are two types of crocus, tulip, iris, daffodil (aka jonquil) and a lily.

It took 3 full days to make and is now on Etsy for sale. https://www.etsy.com/listing/160541518/spring-flowers-not-framed?

The backside!


~Sarah

Monday, August 19, 2013

Cheesecake--Healthier Version

I got this recipe from my Godmother, Pam, and decided to make it into muffin size servings as nobody in my household likes cheesecake and I can put the extras in the freezer for later. What makes it healthier? Only using egg whites lowers the cholesterol. Using lite instead of full fat cream cheese reduces the fat level. Don't use non-fat cream cheese as it doesn't bake right.

Ingredients: Makes about 24 muffin cheesecakes.

Crust:
  • 1 sleeve Graham Crackers
  • 5-6 Tbs Butter
Mix
  • 4 (16 oz) pkgs cream cheese, either regular or lite for the healthier version.
  • 2/3 c. sugar
  • 2 tsp. vanilla
  • 1/4 tsp salt

Meringue
  • 5 eggs whites (Makes it cholesterol free.)
  • 1/2 c. sugar
  • 2 tsp. vanilla

First: 

  1. Make the crust! Chop or crush a sleeve of graham crackers. I used my food chopper in the bowl, but you can use a food processor.
  2. Add the butter and mix well.
  3. Put a spoonful in the bottom of each muffin cup wrapper. 
  4. Tap it down to make it crust like.
  5. Bake it for about 4-5 minutes at 350 degrees (325 if you have non-stick pans as they cook hotter).
  6. Set aside to cool.


Before Baking
After Baking
Cream Cheese

Second: Make the Mix

Add the ingredients for the mix. Leave the cheese on the counter to come to room temperature before making. It is creamier and easier to blend this way.
Only use this when baking, and add half the amount recipe calls for...Super yummy!

Sugar, Vanilla, Salt

mix until smooth

Third: Meringue

In a separate bowl, combine egg whites, sugar and vanilla. Whip them.
There are a few ways to separate the yolk and the whites. This is an easy way for me.

If you use the Pampered Chef Vanilla, you only need 1/2 the amount as it is very strong.

Start the beating

keep Going

Done, when soft mounds form.

Fourth: Combine the Mix and the Meringue

Add the meringue to the mix and gently stir together. You don't want to break your meringue to much.


You can use the beaters on the lowest setting if you feel you need to, but having the cream cheese at room temperature helps to hand mix it.

Fifth: 

Fill the muffin cups and Bake at 350 degrees for 25-30 minutes. (Bake at 325 if using nonstick pans.)

Use the largest scoop from Pampered Chef. It fills the muffin tins perfectly and measures 3 Tbs.


Put them in the oven for 25-30 minutes.

I know it's not the perfect way, but When I see the tops are cracked and the insides look cooked and not gooey looking, I know they are done.

 Sixth:


Add whatever topping you choose and enjoy. I used canned strawberries, but when they are in season, the fresh strawberries are perfect for these!!!! Yum!
This batch I made to take to a class.


Sunday, August 18, 2013

New Baby Quilt

I just finished this quilt today and posted it on Etsy for sale.


It's a jelly roll baby quilt about 29" by 42".

 This quilt has a variety of beautiful patterned fabrics in pink, red, white, green, and teal. It has an abstract teal, green, and golden flannel back and is bound with a two tone teal fabric. It is tied with a dark teal DMC floss color.


 I machine stitched the front of the binding on the quilt. I hand stitched the back binding on to hide the thread. The final step was to tie the quilt with DMC Floss.


 ~Sarah

Wedding Dress Alterations

This as a Masquerade ball gown/wedding dress.
I don't alter clothing very often. Usually I sew them from a pattern, but Renee was given a dress for her wedding that had gone through 4 previous owners. I have pictures of the past 2.

Kaitlynn wore it first to a formal dance. She is quite tall and the length was perfect. The picture was taken by her mom, Kimmi, who is a photographer.

Kimmi Sue wore it last for "Mom Prom." This is a fundraiser where the ladies dress up for a formal dance and have a blast. As you can see...Kimmie is vertically challenged and almost a foot shorter than her Amazonian daughter. Just kidding. Kimmi was about 8-10 inches to short for the dress and used lots of pins to tighten it to fit.
Renee was on a budget and a free dress that could be altered was a blessing, however...her color scheme was black, white, and red. Oh... and she loathes pink!!!! So this is what we came up with...

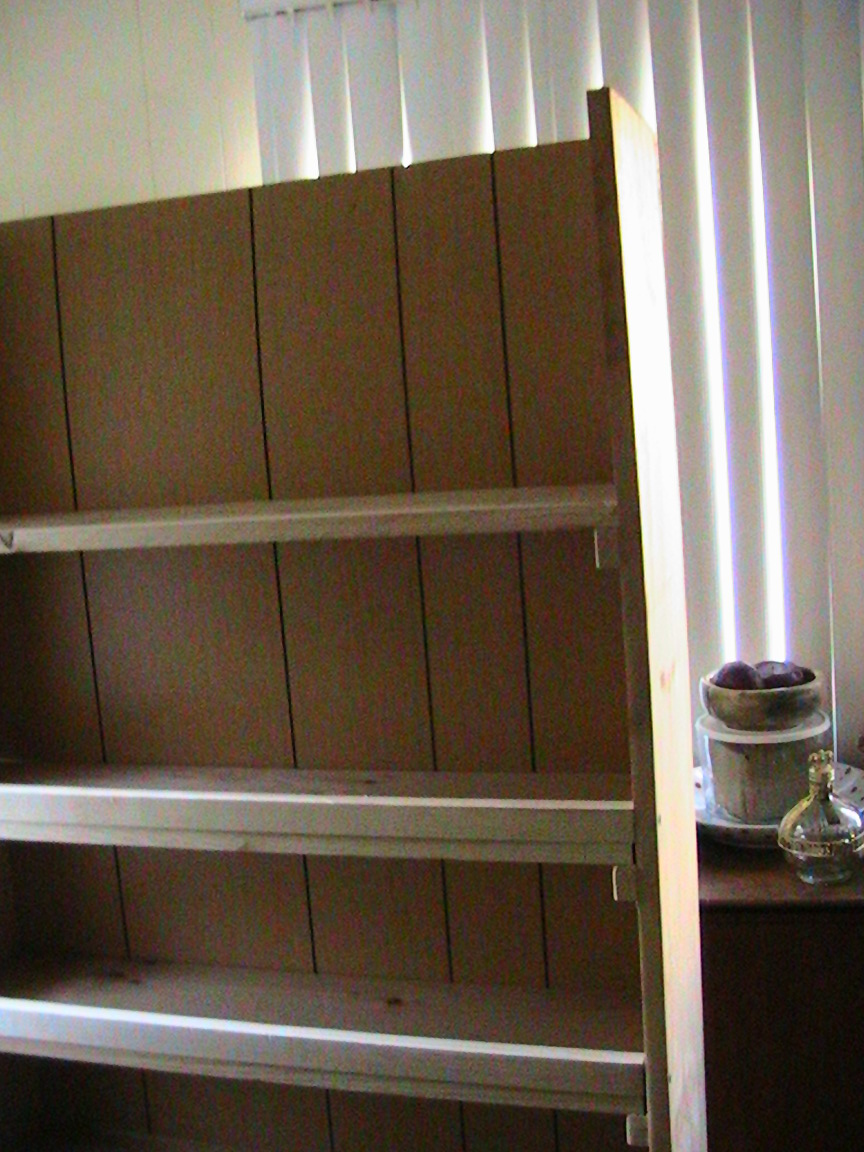
First, Renee sent it to the cleaners to get most of the dirt off the hemline. I had to cut the burned area off, Fortunately it was in the bottom 5 inches that I planned to cut off.

The hemline was about 2 inches up inside of the dress and it as gathered. I'm not wild about stitching gathers, but I had to do it. 
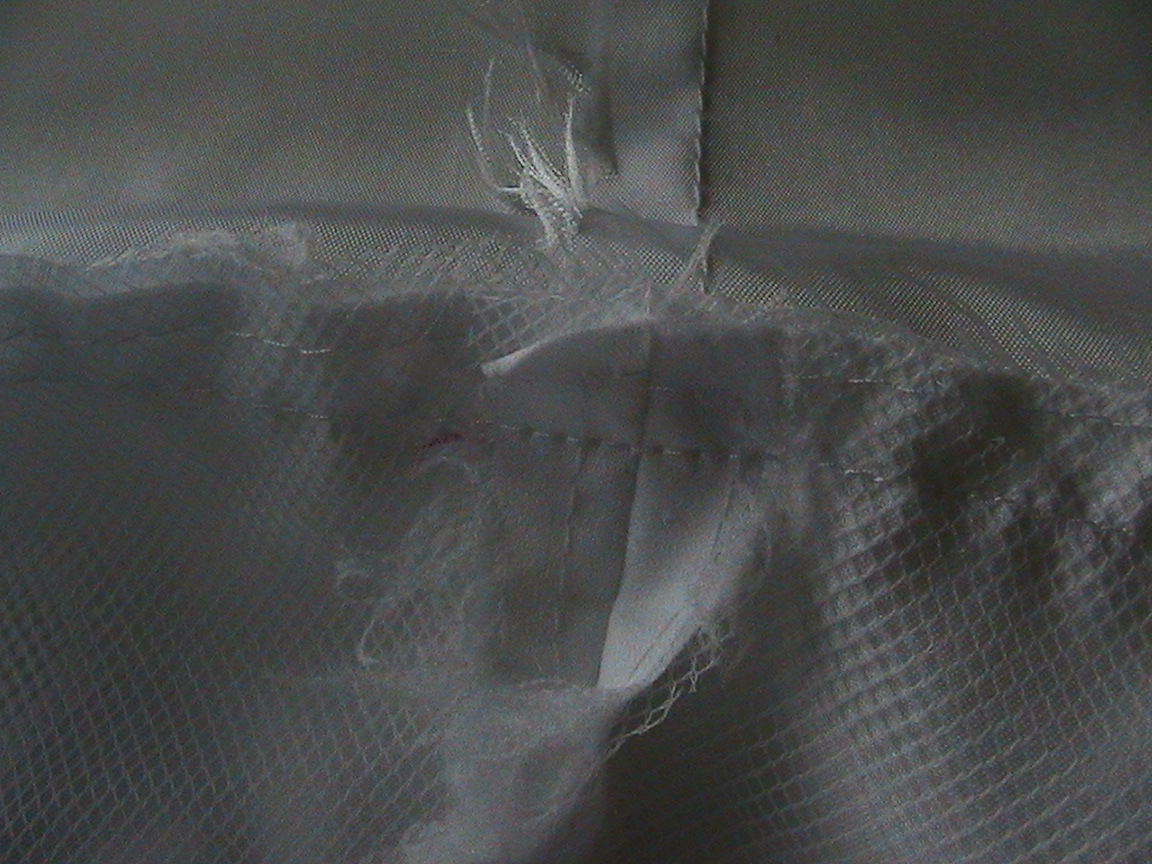
There were also 3 layers: the lining, the Satin outside, and the netting.


 After I got it cut, I had to rip out the zipper and replace it so it would take in the waist 1.5 to 2 inches. My Nana taught me to do zippers as a teenager when I made my first dress.


 I had Renee come for a fitting and by taking in the zipper, I didn't need to mess with the ribbing. YEAH! I could then go ahead and stitch up the bottom using a blind stitch and gathering it at the same time. I think it turned out well! By cutting off 5 inches and hemming another 3 inches, it became the perfect length for Renee.
Re-Hemmed

 Renee wanted a strapless gown, so I un-stitched the straps, and restitched the top where the opening was. I also fixed a little of the trim work that was pulling off. Looks good so far!


NOW...How to eliminate some of that PINK??? First thing was to make a new satin BLACK ribbon to tie the dress with! I had some leftover scraps of black from Ashlin's costume a few years ago, so it was an easy fix.


 But how to change all the trim? Or, at least most of it? I had a permanent black fabric marker that I used in quilting. (Never use a regular permanent marker as sweat can make it run.)

I practiced on a strap that was removed first and showed the bride. She decided it looked fun and she would finish the dress as she would be bored and need something to do.


 The wedding day, came quickly and the bride looked beautiful!!!!

Getting dressed

The Bride and Groom!

Would I ever do it again??? Probably!
~Sarah