Carry Sack - Tote - Purse made from Upcycled Denim Blue Jeans
These
bags were made from the legs of a pair of Ashlin's blue jeans. She always seems to rip them in the thighs. She's still wearing the top part as shorts...but I have plans for them when she's done.
They have a
rectangular bottom. Each bag has a liner and handles made from
coordinating fabric. The bag stands 9 to 9 1/2 inches tall. The bottom
measures approximately 5" x 4".
These bags easily hold 4 of my
reading books, various sewing supplies, or a multitude of items. It
would easily hold a skein of yarn and some knitting needles or crochet
hooks. This is a perfect bag for on the go. I'm debating making a pattern that would turn them into insulated lunch totes.
~Sarah
A weekly art/craft project by Ashlin, Sarah or Both. We wanted to challenge ourselves to be creative and try to expand our skills. We'd love to have some feedback and suggestions for improvement, so please leave a comment when you visit. Thanks! A few posts will be Tom's handy work, but Ashlin or I will be writing it up for him as he doesn't like to write.
Showing posts with label Upcycled. Show all posts
Saturday, March 1, 2014
Thursday, January 2, 2014
My New Guitar
My new guitar is finished and added to Etsy. It is going to be hard to get rid of this guitar. I love the pop of color! https://www.etsy.com/listing/168424922/upcycled-acoustic-guitar-shelf-one-of-a? This specific guitar has one long shelves. I would recommend
hanging it using 2 hooks on the attached black and white cord.
Instead of doing my traditional guitar, I wanted to do a horizontal style shelf. I carefullt cut it with my dremel and found an extra block support on the inside of the guitar that was hard to cut. I cut a hard shelf to go into the guitar with grooves for the slats that were built into the guitar. I adhered it to the support I glued into the guitar. I cut a piece of trim and shaped it to the front of the guitar.
I decided to spray paint the entire guitar, so I took the metal pieces off and sprayed away. (Note to self: Don't Spray Paint when it is cold outside!!!!) I used silver leaf to add accents on the neck and trim along the shelf. A musical themed upholstery fabric lines the back of the inside of the guitar. What a challenge cutting this to fit in perfectly. The final thing was to add Black Rhinestone Sticker Embellishments and a black and white cord to hang the guitar. I would use double hooks to hang the cord on for added support!
~Sarah
Instead of doing my traditional guitar, I wanted to do a horizontal style shelf. I carefullt cut it with my dremel and found an extra block support on the inside of the guitar that was hard to cut. I cut a hard shelf to go into the guitar with grooves for the slats that were built into the guitar. I adhered it to the support I glued into the guitar. I cut a piece of trim and shaped it to the front of the guitar.
I decided to spray paint the entire guitar, so I took the metal pieces off and sprayed away. (Note to self: Don't Spray Paint when it is cold outside!!!!) I used silver leaf to add accents on the neck and trim along the shelf. A musical themed upholstery fabric lines the back of the inside of the guitar. What a challenge cutting this to fit in perfectly. The final thing was to add Black Rhinestone Sticker Embellishments and a black and white cord to hang the guitar. I would use double hooks to hang the cord on for added support!
~Sarah
Lost Guitar Post! My Guitar Shelves!
Last fall I started to make guitar shelves. Somehow, my post disappeared, so... I am re-posting it.
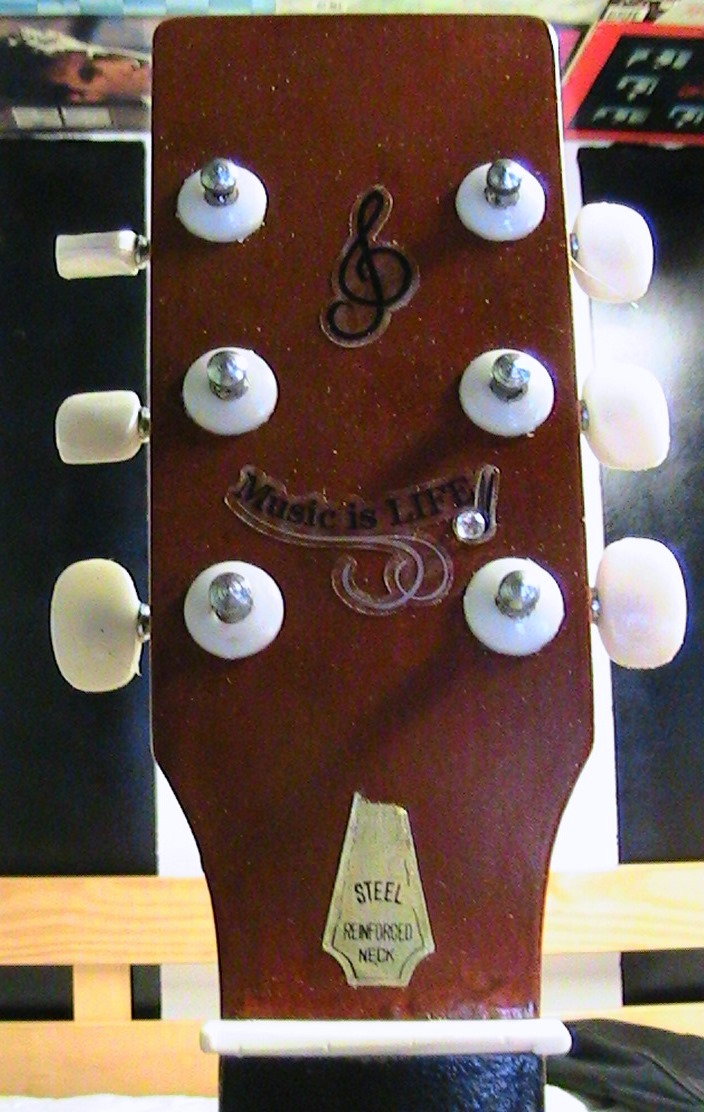
Tom found a couple guitars at garage sales and brought them home for me. They were not in good shape, so fixing them to play was not an option. I decided to make shelves out of them. This what came of them:
I used my Dremel to cut open the guitars. The first guitar had 2 cross bars in the back when I cut it open. The second Guitar had 3. now I knew how many shelves each would have. I added wooden support bars along the inside to support the shelves. I sanded everything and carefully sprayed the front of the guitars and the inside of the guitars black.
The first guitar I sprayed the hard wood shelves I added black. (Adding hard wood shelves to a curved area with a small opening is quite a challenge when the shelves do NOT bend. I wasn't sure I was going to be able to manage it.)
To complete the first guitar, I went into my scrap booking stash and carefully cut and glued the pages I chose to the back using the guitars natural dividers as section dividers.
Note: This guitar was the first to sell and has shipped to Texas.
The second guitar I made had 3 natural shelf dividers. I prepped it the same way as the first, however, I stained the shelves and edged them with black instead. I wanted to highlight more of the natural wood as this guitar had a very pretty coloring. I rotated the shelves so they would show two toned. The neck of the guitar was missing the bridge, so took it from the bottom piece I had taken off and adapted one for the neck.
I found some metal words and Rhinestone musical stickers I chose to use to decorate this guitar.
Note: This guitar has sold and has shipped to Virginia.
~Sarah
Tom found a couple guitars at garage sales and brought them home for me. They were not in good shape, so fixing them to play was not an option. I decided to make shelves out of them. This what came of them:
I used my Dremel to cut open the guitars. The first guitar had 2 cross bars in the back when I cut it open. The second Guitar had 3. now I knew how many shelves each would have. I added wooden support bars along the inside to support the shelves. I sanded everything and carefully sprayed the front of the guitars and the inside of the guitars black.
The first guitar I sprayed the hard wood shelves I added black. (Adding hard wood shelves to a curved area with a small opening is quite a challenge when the shelves do NOT bend. I wasn't sure I was going to be able to manage it.)
To complete the first guitar, I went into my scrap booking stash and carefully cut and glued the pages I chose to the back using the guitars natural dividers as section dividers.
Note: This guitar was the first to sell and has shipped to Texas.
The second guitar I made had 3 natural shelf dividers. I prepped it the same way as the first, however, I stained the shelves and edged them with black instead. I wanted to highlight more of the natural wood as this guitar had a very pretty coloring. I rotated the shelves so they would show two toned. The neck of the guitar was missing the bridge, so took it from the bottom piece I had taken off and adapted one for the neck.
I found some metal words and Rhinestone musical stickers I chose to use to decorate this guitar.
Note: This guitar has sold and has shipped to Virginia.
~Sarah
Labels:
Display,
Guitar,
Home Decor,
Music,
Shelves,
Upcycled,
Wood Working
Saturday, June 1, 2013
Filler:Brian's Quilt "Denim and Poker" Christmas Gift 2007
Ok...it's been a
while since I've posted. I've been doing home renovation projects and haven't finished yet. In the meantime, I thought I might pull out a few old craft or sewing projects that I finished.
This quilt I made for my cousin... Brian. I was trying to figure out a guy's quilt theme and decided denim and poker fabric would work. Brian likes playing games.
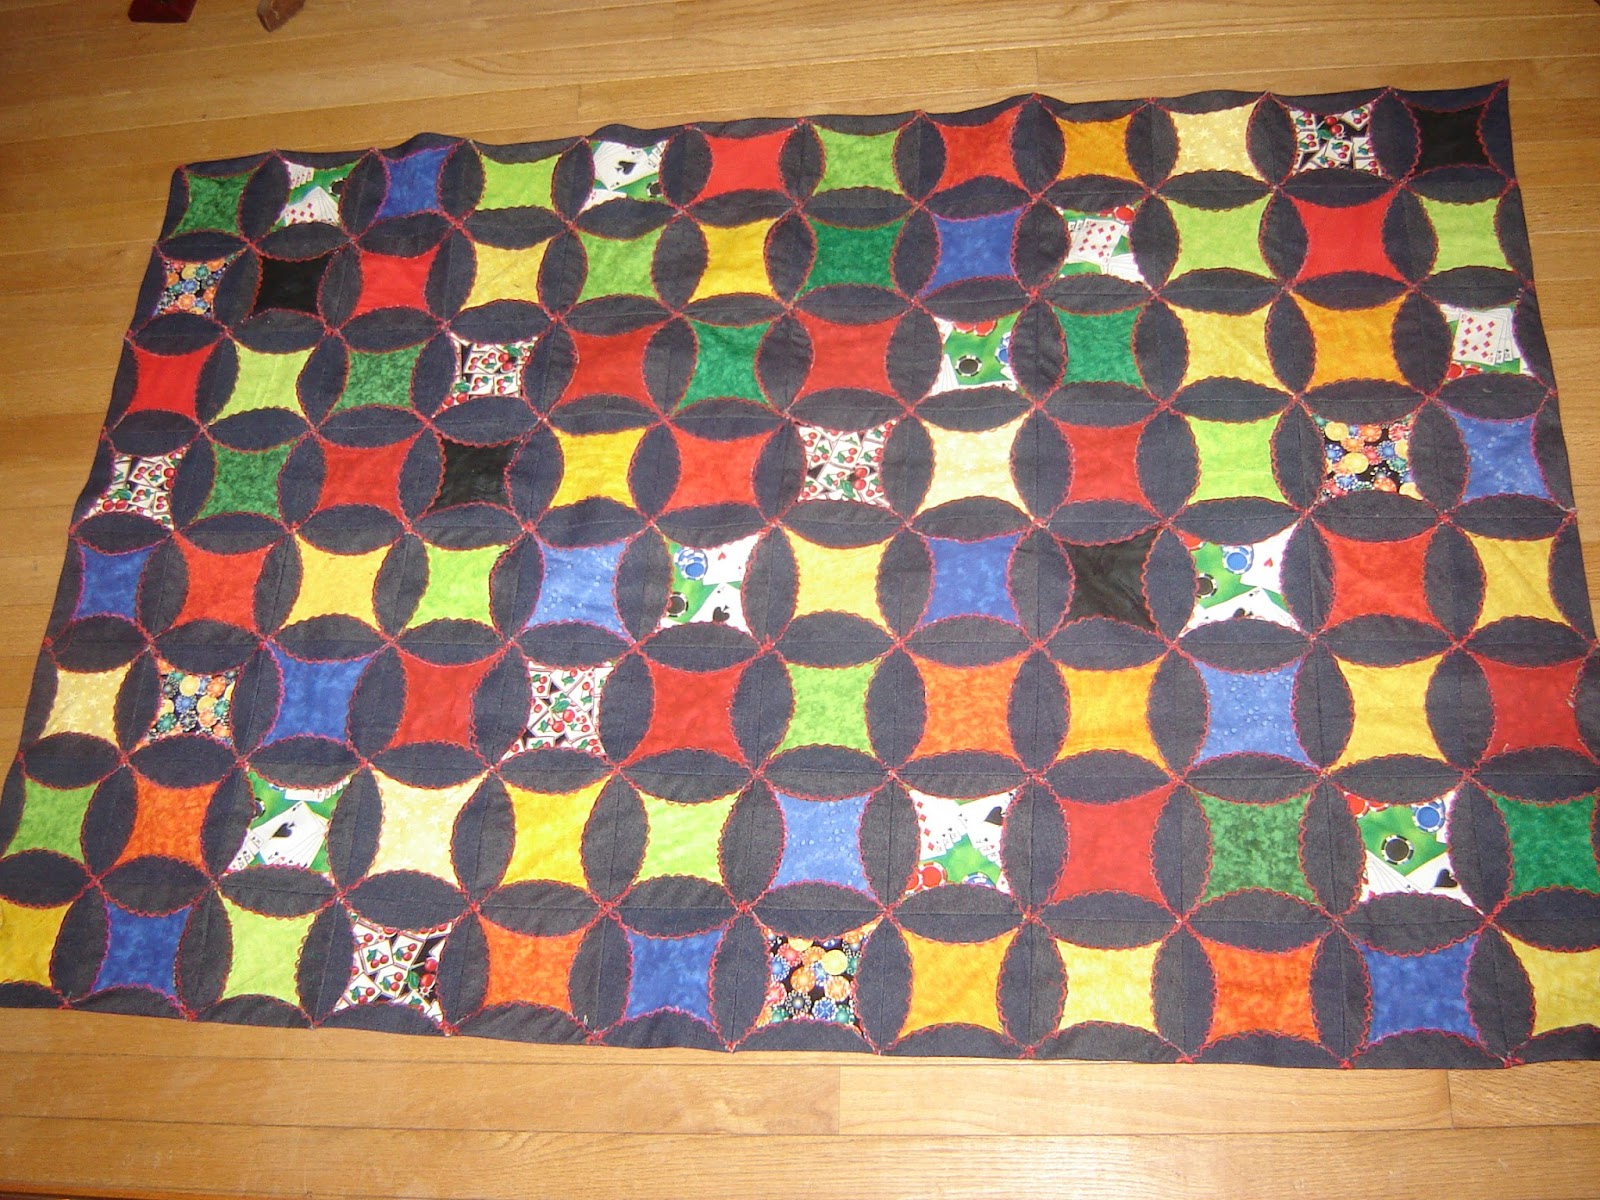
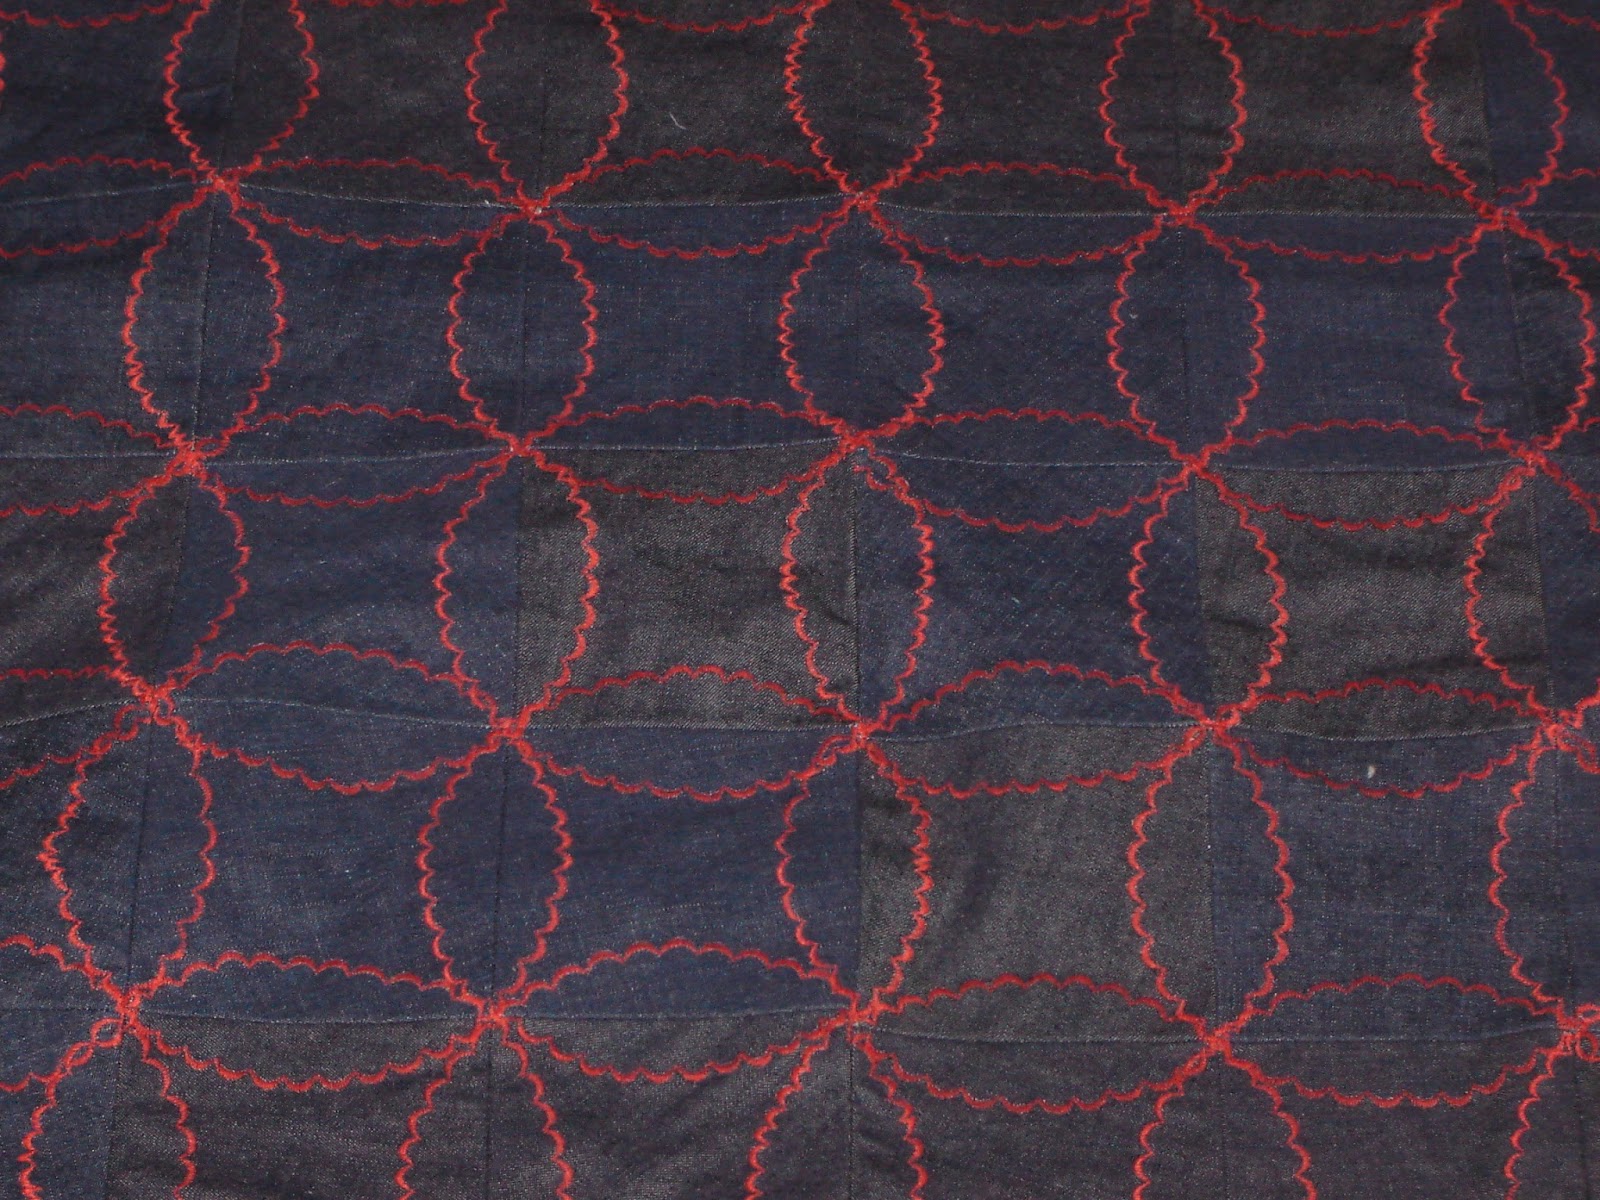
This particular project is a quilt is one I made out of denim and poker fabrics. I used a circle pattern I made to cut out the fabric. I cut 144 denim and 144 poker fabric pieces. I used a red thread to scallop stitch it all together.
I started stitching 4 of them together. The back side of the denim to the back side of the colored fabric. I stitched the circles together by stitching 2 circles together, folding down the overlap and stitching that in place. I then layed them out to organize all my 4 patch squares. and to organize the color scheme a little.
I then had 6 strips to connect together.
Finished front side:
Finished Back Side:
~Sarah
while since I've posted. I've been doing home renovation projects and haven't finished yet. In the meantime, I thought I might pull out a few old craft or sewing projects that I finished.
This quilt I made for my cousin... Brian. I was trying to figure out a guy's quilt theme and decided denim and poker fabric would work. Brian likes playing games.
This particular project is a quilt is one I made out of denim and poker fabrics. I used a circle pattern I made to cut out the fabric. I cut 144 denim and 144 poker fabric pieces. I used a red thread to scallop stitch it all together.
I started stitching 4 of them together. The back side of the denim to the back side of the colored fabric. I stitched the circles together by stitching 2 circles together, folding down the overlap and stitching that in place. I then layed them out to organize all my 4 patch squares. and to organize the color scheme a little.
Finished front side:
Finished Back Side:
~Sarah
Labels:
Blanket,
circle quilt,
Craft,
Denim,
Home Decor,
Lap Quilt,
Poker,
Quilting,
Recycled Jeans,
Sewing,
Upcycled
Subscribe to:
Posts (Atom)